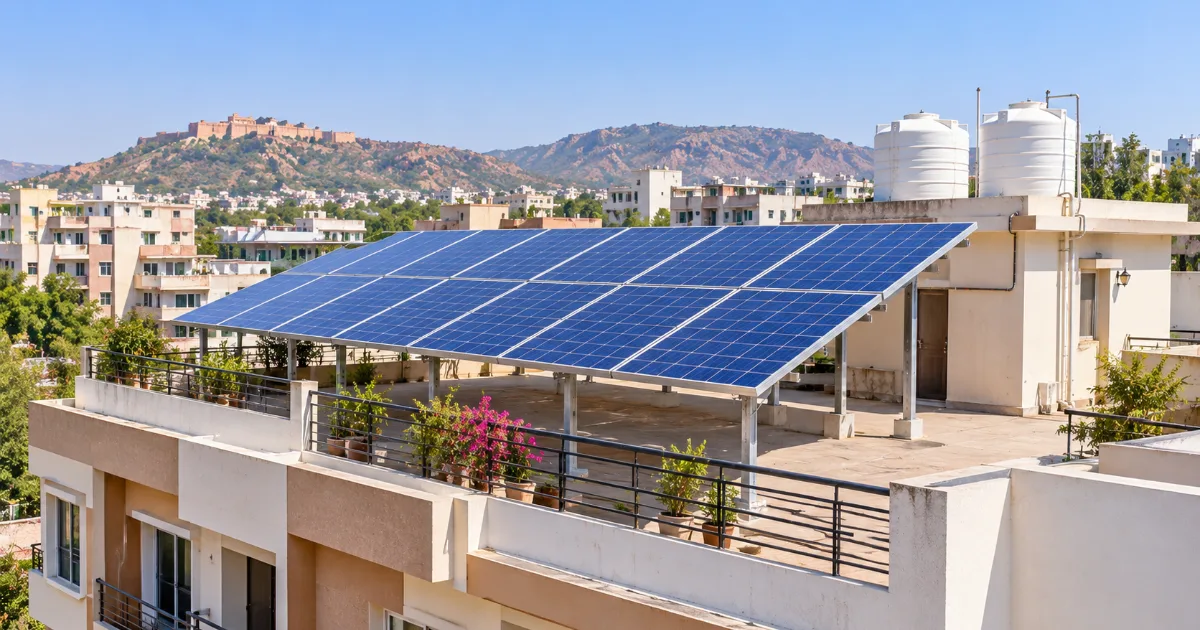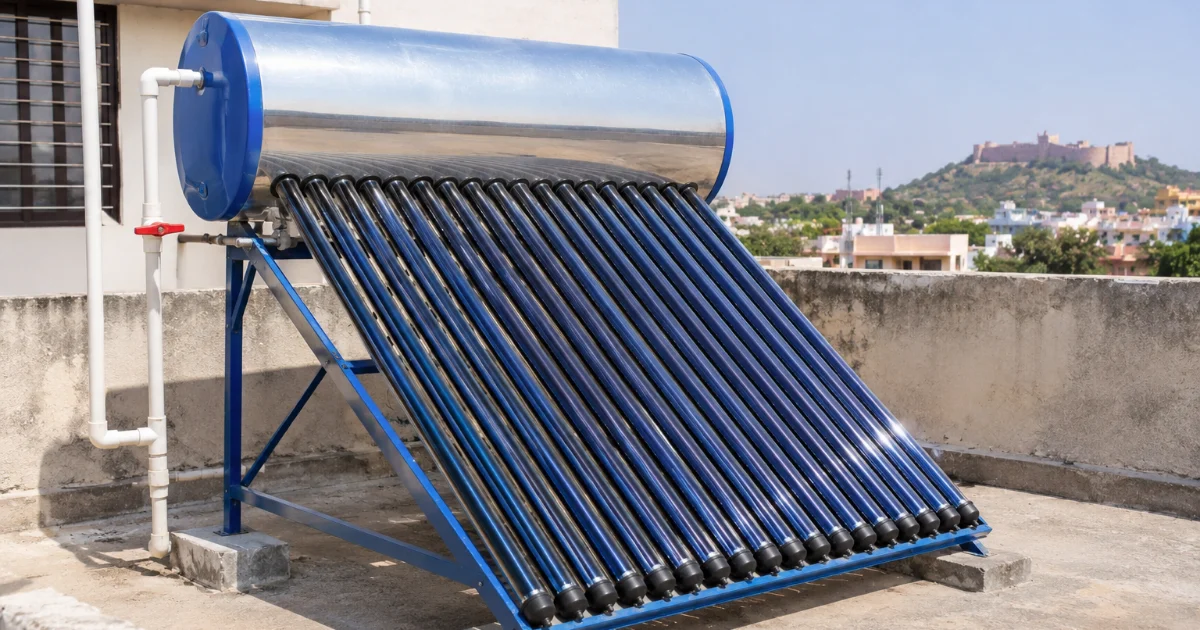
Most people who decide to install rooftop solar want to know one thing: what happens between signing up and seeing the first units on the meter? Knowing the steps helps you plan approvals, avoid delays and check that the work is done properly. Here is how a typical grid-connected rooftop project in Rajasthan moves from survey to commissioning.
Step 1: Site survey
An engineer visits to check roof area, orientation, shading from trees, water tanks or nearby buildings, roof strength and the path for cables. They also look at your electricity bills to understand monthly consumption and your sanctioned load. Our shading analysis and site survey guide explains what a good survey covers.
Step 2: System design and proposal
- System size based on consumption, roof area and sanctioned load (see our system size guide)
- Panel and inverter selection, with datasheets and warranties
- Mounting structure design suited to the roof and wind conditions
- Single-line diagram showing DC and AC protection, earthing and metering
- Expected annual generation and a clear scope of work
Step 3: Applications and approvals
For homes, applications under the central rooftop solar scheme are made on the national portal, which connects to your electricity distribution company. Commercial and industrial consumers apply to the discom under the applicable net metering or net billing regulations. The discom checks technical feasibility before work begins. Keep copies of your latest bill, identity documents and property details ready.
Step 4: Material delivery and installation
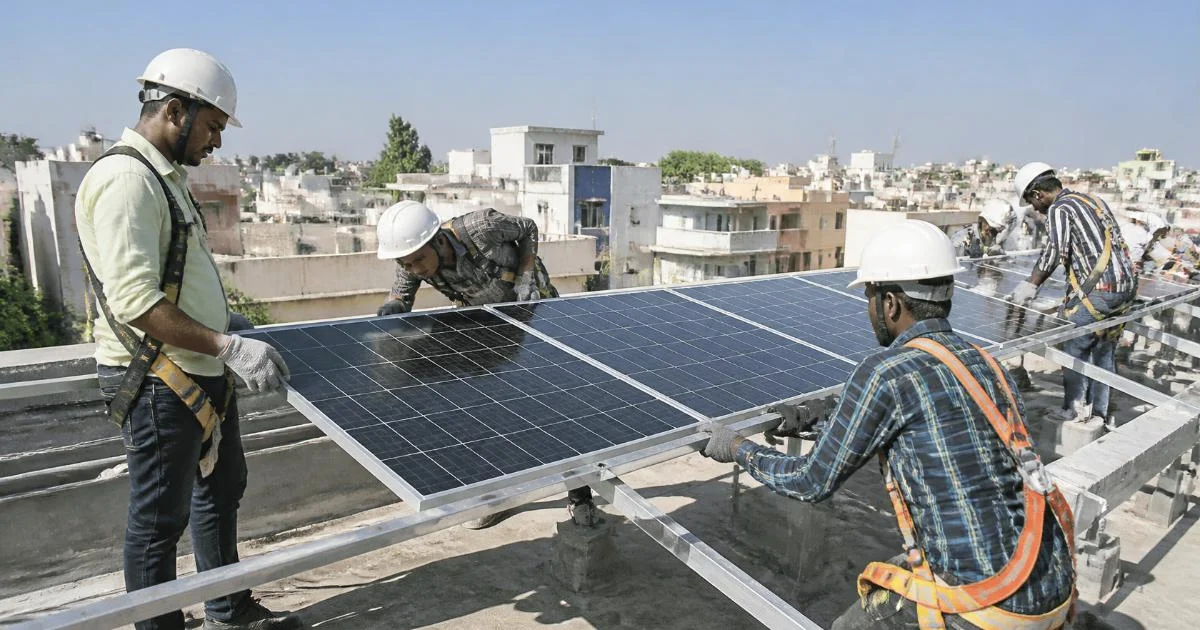
- Mounting structure is fixed to the roof with proper anchoring and waterproofing
- Panels are mounted, aligned and connected in strings
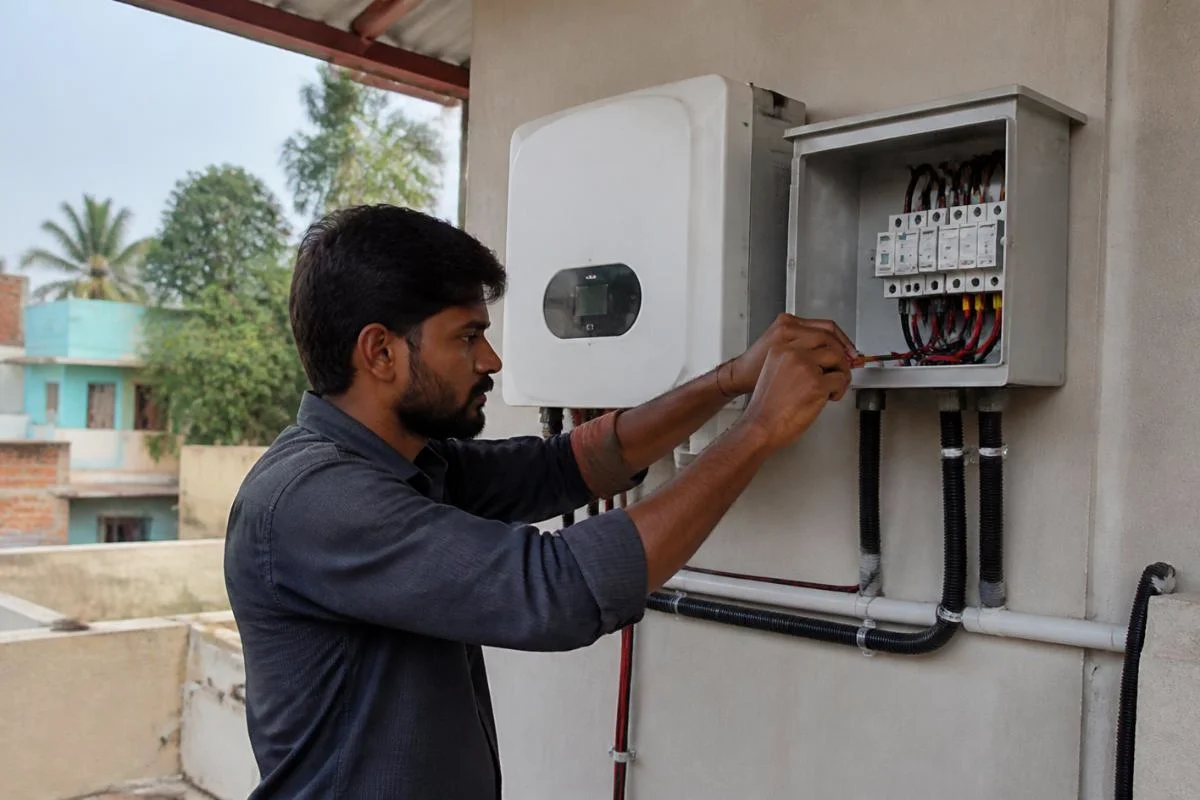
- DC cables run in conduits to the inverter, with DC protection in a combiner or DC distribution box
- The inverter is installed in a shaded, ventilated location
- AC output connects through an AC distribution box with breakers and surge protection
- Earthing and lightning protection are installed and tested
Safety matters during installation: workers should use harnesses on roofs without parapets, and DC wiring should be done by trained electricians. See our guides on mounting structures and earthing and lightning protection.
Step 5: Inspection, net meter and commissioning
After installation, the discom inspects the system and installs a bi-directional net meter. The installer then commissions the plant, checks voltages and generation, and sets up the monitoring app. Ask for a commissioning report with test results.
Step 6: Subsidy and handover
Where a subsidy applies, the claim is processed after commissioning and inspection through the portal. At handover you should receive warranty documents, the single-line diagram, a maintenance schedule and contact details for service. Our net meter bill guide helps you check the first bills.
Common causes of delay
- Name or load mismatch between the bill and the application
- Sanctioned load lower than the planned system size
- Roof repairs or waterproofing not done before installation
- Pending meter testing or net meter availability at the discom
Frequently asked questions
How long does installation take on site?
For a typical home system, the physical installation usually takes only a few days. Approvals, inspection and net metering take most of the overall time.
Do I need to repair the roof first?
Yes, if there are leaks or cracks. It is much easier to fix the roof before panels are mounted.
Who should I contact for service later?
Your installer handles service under the warranty and any maintenance contract. See our warranty and AMC guide.
Planning rooftop solar for your home or business? Contact ATTPL HOLDCO or visit ATTPL Solar.
Sources
- PM Surya Ghar national portal
- Ministry of New and Renewable Energy
- Energy Department, Government of Rajasthan
This article is general information, not professional advice. Scheme rules and discom procedures change; please check the official portals for current details.
Related reading: After installation, consider cover for your plant: solar plant insurance guide.
Related reading: Planning installation? First read our roof structural check guide.